THE FASTEST TOOLS IN TOWN
ZIP APPLIANCE REPAIR & SERVICE

Phone: (559) 272-4265


Phone: (559) 272-4265


Appliance Repair Tips For Fresno, CA Residents
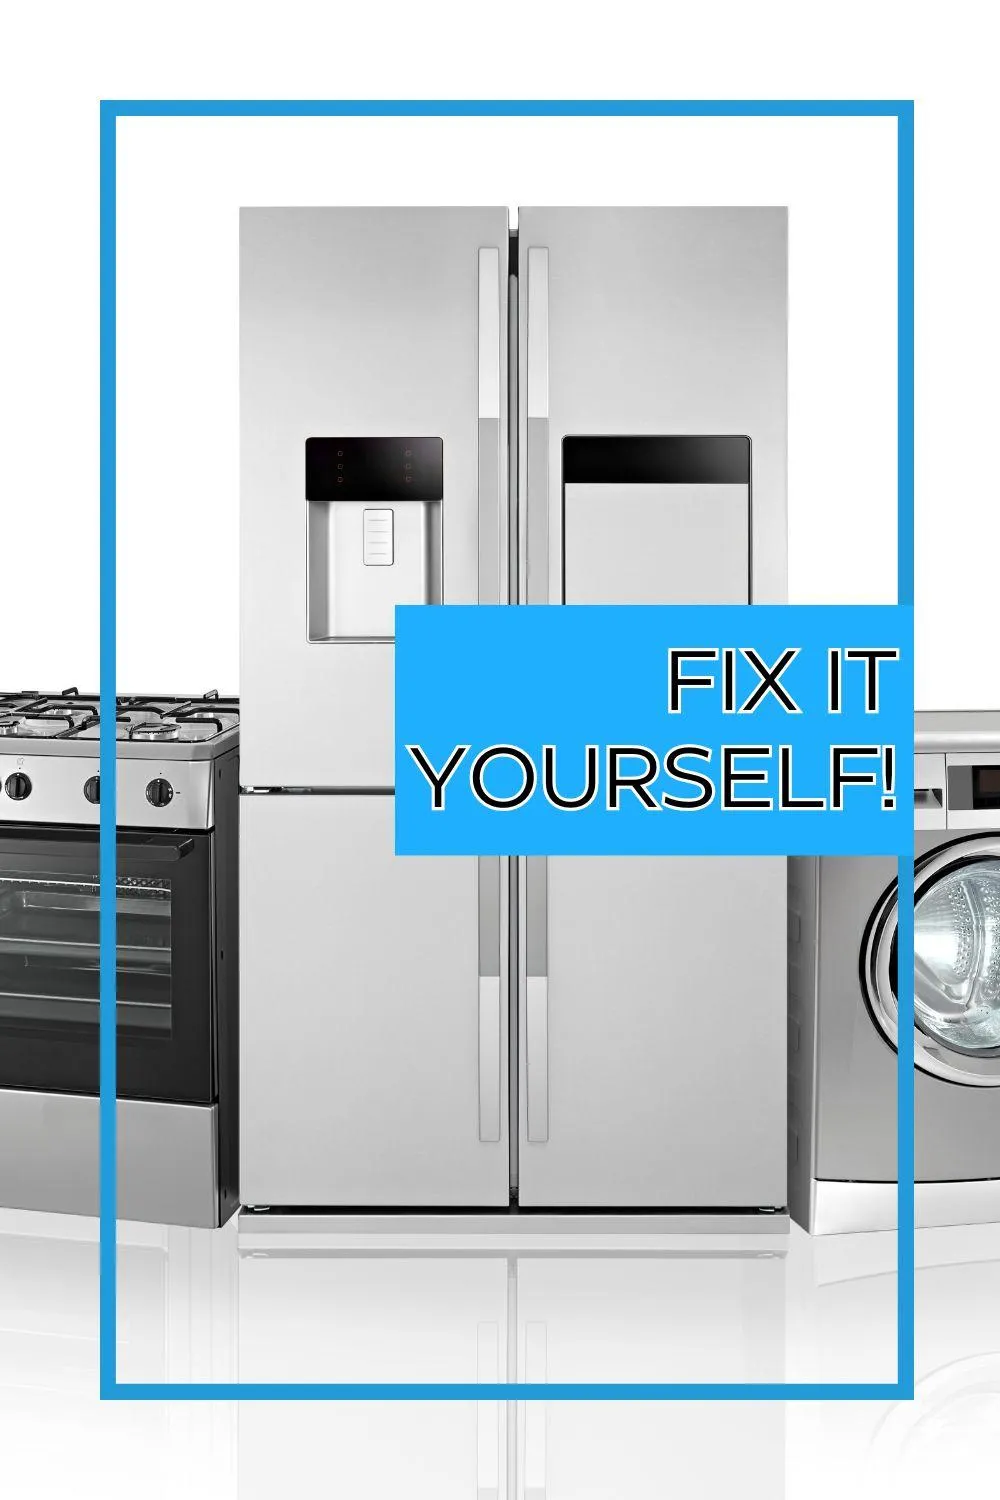
Fix It Yourself: 5 Common Appliance Problems Solved!
Fix It Yourself: 5 Common Appliance Problems Solved!
Introduction:
Welcome to the ultimate guide for fixing common appliance problems on your own! Are you tired of waiting for repair technicians and spending a fortune on service fees? Well, you're in luck because we're here to empower you with the knowledge and skills to tackle those pesky appliance issues head-on.
Why DIY appliance repair can save you time and money
DIY appliance repair isn't just about saving a few bucks; it's about taking control of your home and your wallet. By learning how to fix common appliance problems yourself, you can avoid lengthy wait times for professional help and expensive repair bills. Plus, there's something incredibly satisfying about being able to solve problems on your own.

Understanding Appliance Basics
Know your appliance: Understanding how it works
Before you dive into any repair project, it's essential to have a basic understanding of how your appliance functions. Take some time to familiarize yourself with the different components and mechanisms involved. This knowledge will come in handy when troubleshooting issues later on.
Safety first: Important precautions before you start repairing
Safety should always be your top priority when working with appliances. Make sure to unplug the appliance before attempting any repairs, and never work on it while it's still connected to power. Wear appropriate safety gear, such as gloves and safety goggles, and be cautious around sharp edges and moving parts.
Problem 1: The Washing Machine Won't Drain
Common causes of drainage issues
A clogged drain hose and a faulty pump are two of the most common culprits behind a washing machine that won't drain. Over time, debris can accumulate in the drain hose, causing a blockage, while a malfunctioning pump may struggle to remove water from the machine.
Step-by-step guide to fixing a washing machine that won't drain
Check and clear the drain hose: Start by locating the drain hose at the back of the washing machine and inspecting it for any obstructions. Use a plumbing snake or a wire hanger to remove any debris that may be blocking the flow of water.
Inspect the pump for blockages: Next, remove the front panel of the washing machine to access the pump. Check the pump for any foreign objects, such as coins or lint, that may be preventing it from operating properly. Clean the pump thoroughly before reassembling the machine.
Troubleshoot the lid switch: In some cases, a faulty lid switch can prevent the washing machine from draining. Test the switch for continuity using a multimeter, and replace it if necessary.
Problem 2: Refrigerator Not Cooling Properly
Reasons behind refrigerator cooling problems
There are several potential reasons why a refrigerator may not be cooling properly, but two of the most common culprits are dirty condenser coils and a faulty thermostat. Dust and debris can accumulate on the condenser coils over time, inhibiting their ability to dissipate heat, while a malfunctioning thermostat may fail to regulate the temperature inside the fridge.
DIY solutions for a refrigerator that's not cooling
Clean the condenser coils: Start by unplugging the refrigerator and locating the condenser coils, which are usually located on the back or bottom of the appliance. Use a vacuum cleaner or a coil brush to remove any dust or debris that may be obstructing the coils.
Test and calibrate the thermostat: If the refrigerator is still not cooling properly after cleaning the condenser coils, the thermostat may be to blame. Use a thermometer to monitor the temperature inside the fridge and adjust the thermostat accordingly. If the thermostat is faulty, it will need to be replaced.
Check for proper ventilation around the refrigerator: Poor airflow around the refrigerator can also contribute to cooling problems. Make sure that there is adequate space between the appliance and the wall, and that the vents on the back of the fridge are not blocked by any obstructions.
Problem 3: Oven Temperature Inaccuracy
Understanding why your oven temperature might be off
Calibration issues and a faulty temperature sensor are two common reasons why an oven may not maintain the correct temperature. Over time, the thermostat in the oven may become misaligned or inaccurate, leading to temperature fluctuations. Additionally, a malfunctioning temperature sensor can prevent the oven from accurately detecting the temperature inside the cavity.
How to recalibrate your oven temperature
Use an oven thermometer to check accuracy: Start by placing an oven thermometer inside the oven and preheating it to a specific temperature, such as 350°F. Allow the oven to preheat fully, then compare the temperature on the thermometer to the temperature set on the oven dial. If there is a significant discrepancy, the oven may need to be recalibrated.
Adjust the thermostat settings if necessary: Most ovens have a calibration feature that allows you to adjust the temperature settings manually. Refer to the manufacturer's instructions for your specific oven model to learn how to access and adjust the calibration settings.
Replace the temperature sensor if it's faulty: If recalibrating the oven does not solve the temperature accuracy issues, the temperature sensor may be defective and require replacement. Consult the appliance manual or contact a professional technician for assistance with replacing the sensor.
Problem 4: Dishwasher Not Draining
Common reasons for dishwasher drainage problems
A clogged filter and a blocked drain hose are two common causes of dishwasher drainage issues. Food particles and debris can accumulate in the dishwasher filter over time, preventing water from draining properly. Additionally, a blockage in the drain hose can restrict the flow of water out of the dishwasher.
Steps to fix a dishwasher that's not draining properly
Clean the dishwasher filter: Start by removing the bottom rack of the dishwasher and locating the filter, which is usually located near the bottom of the appliance. Remove the filter and rinse it under running water to remove any food particles or debris that may be trapped inside.
Inspect and clear the drain hose: Next, locate the drain hose, which is usually connected to the underside of the sink. Check the hose for any obstructions, such as food particles or grease, and use a plumbing snake or a wire hanger to clear any blockages.
Check for obstructions in the drain pump: If the dishwasher is still not draining properly after cleaning the filter and drain hose, the drain pump may be clogged or malfunctioning. Remove the bottom panel of the dishwasher to access the drain pump, and inspect it for any obstructions. Clean the pump thoroughly and test it to ensure that it is operating properly.
Problem 5: Microwave Not Heating
Potential causes of microwave heating issues
A faulty magnetron and a burnt-out diode are two common reasons why a microwave may not be heating properly. The magnetron is responsible for generating the microwaves that heat the food, while the diode is responsible for converting the high voltage from the capacitor into the power needed to operate the magnetron.
How to troubleshoot and repair a microwave that's not heating
Test the magnetron with a multimeter: Start by unplugging the microwave and removing the cabinet cover to access the magnetron. Use a multimeter to test the continuity of the magnetron by touching the probes to the terminals. If the multimeter does not display continuity, the magnetron is likely defective and will need to be replaced.
Check the diode for continuity: Next, use the multimeter to test the continuity of the diode by touching the probes to the terminals. If the multimeter does not display continuity in one direction but does in the other, the diode is functioning correctly. However, if there is no continuity in either direction, the diode is likely burnt out and will need to be replaced.
Inspect the high voltage capacitor: Finally, use caution when handling the high voltage capacitor, as it can store a dangerous amount of electrical energy even when the microwave is unplugged. Use a multimeter to discharge the capacitor safely, then inspect it for any signs of damage, such as bulging or leaking. If the capacitor is damaged, it will need to be replaced to restore proper microwave function.
Conclusion
Recap of the common appliance problems discussed
In this comprehensive guide, we've delved into five common appliance issues that frequently crop up in households, ranging from washing machine drainage woes to microwave heating malfunctions. Armed with this knowledge, you're now equipped to tackle these challenges with confidence.
Empowerment through DIY appliance repair
At Zip Appliance Repair and Service, we're passionate about empowering homeowners like you to take control of their appliances. By learning the ins and outs of appliance repair, you not only save time and money but also gain a sense of independence and self-reliance.
Final words of encouragement and safety reminders
Before embarking on any DIY appliance repair endeavor, remember to prioritize safety first. Always unplug the appliance before beginning any repairs and wear appropriate safety gear. If you encounter a problem beyond your expertise, don't hesitate to reach out to our team at Zip Appliance Repair and Service for professional assistance. Visit our website at fresno.ziprepairservice.com/ or give us a call at (559) 272-4265. With our expertise and your determination, there's no appliance issue too challenging to overcome. Happy repairing!

Fix It Yourself: 5 Common Appliance Problems Solved!
Fix It Yourself: 5 Common Appliance Problems Solved!
Introduction:
Welcome to the ultimate guide for fixing common appliance problems on your own! Are you tired of waiting for repair technicians and spending a fortune on service fees? Well, you're in luck because we're here to empower you with the knowledge and skills to tackle those pesky appliance issues head-on.
Why DIY appliance repair can save you time and money
DIY appliance repair isn't just about saving a few bucks; it's about taking control of your home and your wallet. By learning how to fix common appliance problems yourself, you can avoid lengthy wait times for professional help and expensive repair bills. Plus, there's something incredibly satisfying about being able to solve problems on your own.
Understanding Appliance Basics
Know your appliance: Understanding how it works
Before you dive into any repair project, it's essential to have a basic understanding of how your appliance functions. Take some time to familiarize yourself with the different components and mechanisms involved. This knowledge will come in handy when troubleshooting issues later on.
Safety first: Important precautions before you start repairing
Safety should always be your top priority when working with appliances. Make sure to unplug the appliance before attempting any repairs, and never work on it while it's still connected to power. Wear appropriate safety gear, such as gloves and safety goggles, and be cautious around sharp edges and moving parts.
Problem 1: The Washing Machine Won't Drain
Common causes of drainage issues
A clogged drain hose and a faulty pump are two of the most common culprits behind a washing machine that won't drain. Over time, debris can accumulate in the drain hose, causing a blockage, while a malfunctioning pump may struggle to remove water from the machine.
Step-by-step guide to fixing a washing machine that won't drain
Check and clear the drain hose: Start by locating the drain hose at the back of the washing machine and inspecting it for any obstructions. Use a plumbing snake or a wire hanger to remove any debris that may be blocking the flow of water.
Inspect the pump for blockages: Next, remove the front panel of the washing machine to access the pump. Check the pump for any foreign objects, such as coins or lint, that may be preventing it from operating properly. Clean the pump thoroughly before reassembling the machine.
Troubleshoot the lid switch: In some cases, a faulty lid switch can prevent the washing machine from draining. Test the switch for continuity using a multimeter, and replace it if necessary.
Problem 2: Refrigerator Not Cooling Properly
Reasons behind refrigerator cooling problems
There are several potential reasons why a refrigerator may not be cooling properly, but two of the most common culprits are dirty condenser coils and a faulty thermostat. Dust and debris can accumulate on the condenser coils over time, inhibiting their ability to dissipate heat, while a malfunctioning thermostat may fail to regulate the temperature inside the fridge.
DIY solutions for a refrigerator that's not cooling
Clean the condenser coils: Start by unplugging the refrigerator and locating the condenser coils, which are usually located on the back or bottom of the appliance. Use a vacuum cleaner or a coil brush to remove any dust or debris that may be obstructing the coils.
Test and calibrate the thermostat: If the refrigerator is still not cooling properly after cleaning the condenser coils, the thermostat may be to blame. Use a thermometer to monitor the temperature inside the fridge and adjust the thermostat accordingly. If the thermostat is faulty, it will need to be replaced.
Check for proper ventilation around the refrigerator: Poor airflow around the refrigerator can also contribute to cooling problems. Make sure that there is adequate space between the appliance and the wall, and that the vents on the back of the fridge are not blocked by any obstructions.
Problem 3: Oven Temperature Inaccuracy
Understanding why your oven temperature might be off
Calibration issues and a faulty temperature sensor are two common reasons why an oven may not maintain the correct temperature. Over time, the thermostat in the oven may become misaligned or inaccurate, leading to temperature fluctuations. Additionally, a malfunctioning temperature sensor can prevent the oven from accurately detecting the temperature inside the cavity.
How to recalibrate your oven temperature
Use an oven thermometer to check accuracy: Start by placing an oven thermometer inside the oven and preheating it to a specific temperature, such as 350°F. Allow the oven to preheat fully, then compare the temperature on the thermometer to the temperature set on the oven dial. If there is a significant discrepancy, the oven may need to be recalibrated.
Adjust the thermostat settings if necessary: Most ovens have a calibration feature that allows you to adjust the temperature settings manually. Refer to the manufacturer's instructions for your specific oven model to learn how to access and adjust the calibration settings.
Replace the temperature sensor if it's faulty: If recalibrating the oven does not solve the temperature accuracy issues, the temperature sensor may be defective and require replacement. Consult the appliance manual or contact a professional technician for assistance with replacing the sensor.
Problem 4: Dishwasher Not Draining
Common reasons for dishwasher drainage problems
A clogged filter and a blocked drain hose are two common causes of dishwasher drainage issues. Food particles and debris can accumulate in the dishwasher filter over time, preventing water from draining properly. Additionally, a blockage in the drain hose can restrict the flow of water out of the dishwasher.
Steps to fix a dishwasher that's not draining properly
Clean the dishwasher filter: Start by removing the bottom rack of the dishwasher and locating the filter, which is usually located near the bottom of the appliance. Remove the filter and rinse it under running water to remove any food particles or debris that may be trapped inside.
Inspect and clear the drain hose: Next, locate the drain hose, which is usually connected to the underside of the sink. Check the hose for any obstructions, such as food particles or grease, and use a plumbing snake or a wire hanger to clear any blockages.
Check for obstructions in the drain pump: If the dishwasher is still not draining properly after cleaning the filter and drain hose, the drain pump may be clogged or malfunctioning. Remove the bottom panel of the dishwasher to access the drain pump, and inspect it for any obstructions. Clean the pump thoroughly and test it to ensure that it is operating properly.
Problem 5: Microwave Not Heating
Potential causes of microwave heating issues
A faulty magnetron and a burnt-out diode are two common reasons why a microwave may not be heating properly. The magnetron is responsible for generating the microwaves that heat the food, while the diode is responsible for converting the high voltage from the capacitor into the power needed to operate the magnetron.
How to troubleshoot and repair a microwave that's not heating
Test the magnetron with a multimeter: Start by unplugging the microwave and removing the cabinet cover to access the magnetron. Use a multimeter to test the continuity of the magnetron by touching the probes to the terminals. If the multimeter does not display continuity, the magnetron is likely defective and will need to be replaced.
Check the diode for continuity: Next, use the multimeter to test the continuity of the diode by touching the probes to the terminals. If the multimeter does not display continuity in one direction but does in the other, the diode is functioning correctly. However, if there is no continuity in either direction, the diode is likely burnt out and will need to be replaced.
Inspect the high voltage capacitor: Finally, use caution when handling the high voltage capacitor, as it can store a dangerous amount of electrical energy even when the microwave is unplugged. Use a multimeter to discharge the capacitor safely, then inspect it for any signs of damage, such as bulging or leaking. If the capacitor is damaged, it will need to be replaced to restore proper microwave function.
Conclusion
Recap of the common appliance problems discussed
In this comprehensive guide, we've delved into five common appliance issues that frequently crop up in households, ranging from washing machine drainage woes to microwave heating malfunctions. Armed with this knowledge, you're now equipped to tackle these challenges with confidence.
Empowerment through DIY appliance repair
At Zip Appliance Repair and Service, we're passionate about empowering homeowners like you to take control of their appliances. By learning the ins and outs of appliance repair, you not only save time and money but also gain a sense of independence and self-reliance.
Final words of encouragement and safety reminders
Before embarking on any DIY appliance repair endeavor, remember to prioritize safety first. Always unplug the appliance before beginning any repairs and wear appropriate safety gear. If you encounter a problem beyond your expertise, don't hesitate to reach out to our team at Zip Appliance Repair and Service for professional assistance. Visit our website at fresno.ziprepairservice.com/ or give us a call at (559) 272-4265. With our expertise and your determination, there's no appliance issue too challenging to overcome. Happy repairing!
If your dryer has been giving you problems, contact Zip Appliance Repair & Service at (559) 272-4265

Appliance Repair In A Zip
If you need a dryer repair call our Team at (559) 272-4265, or visit our online scheduling page to request service.
Appliance Repair
HAVE A QUESTION, CALL (559) 272-4265

Online Offers
Take advantage of our online discount offers - save time and money...

Residential & Commercial appliances
See what our company can do for you

Appliance Repair Tips
If your appliance is not working properly...
1405 Commercial Way ste 100
Bakersfield, CA 93309
Lic # 1116346
Equipment We Sevice
- A Call To Confirm Your Appointment Time
- A Email Detailing Your Assigned Technician
- Information Needed Before The Repair Can Be Started
- An Estimate Of Work To Be Done
© 2026 ZIP APPLIANCE REPAIR & SERVICE LLC