THE FASTEST TOOLS IN TOWN
ZIP APPLIANCE REPAIR & SERVICE
Phone: (559) 272-4265
Phone: (559) 272-4265
Appliance Repair Tips For Fresno, CA Residents

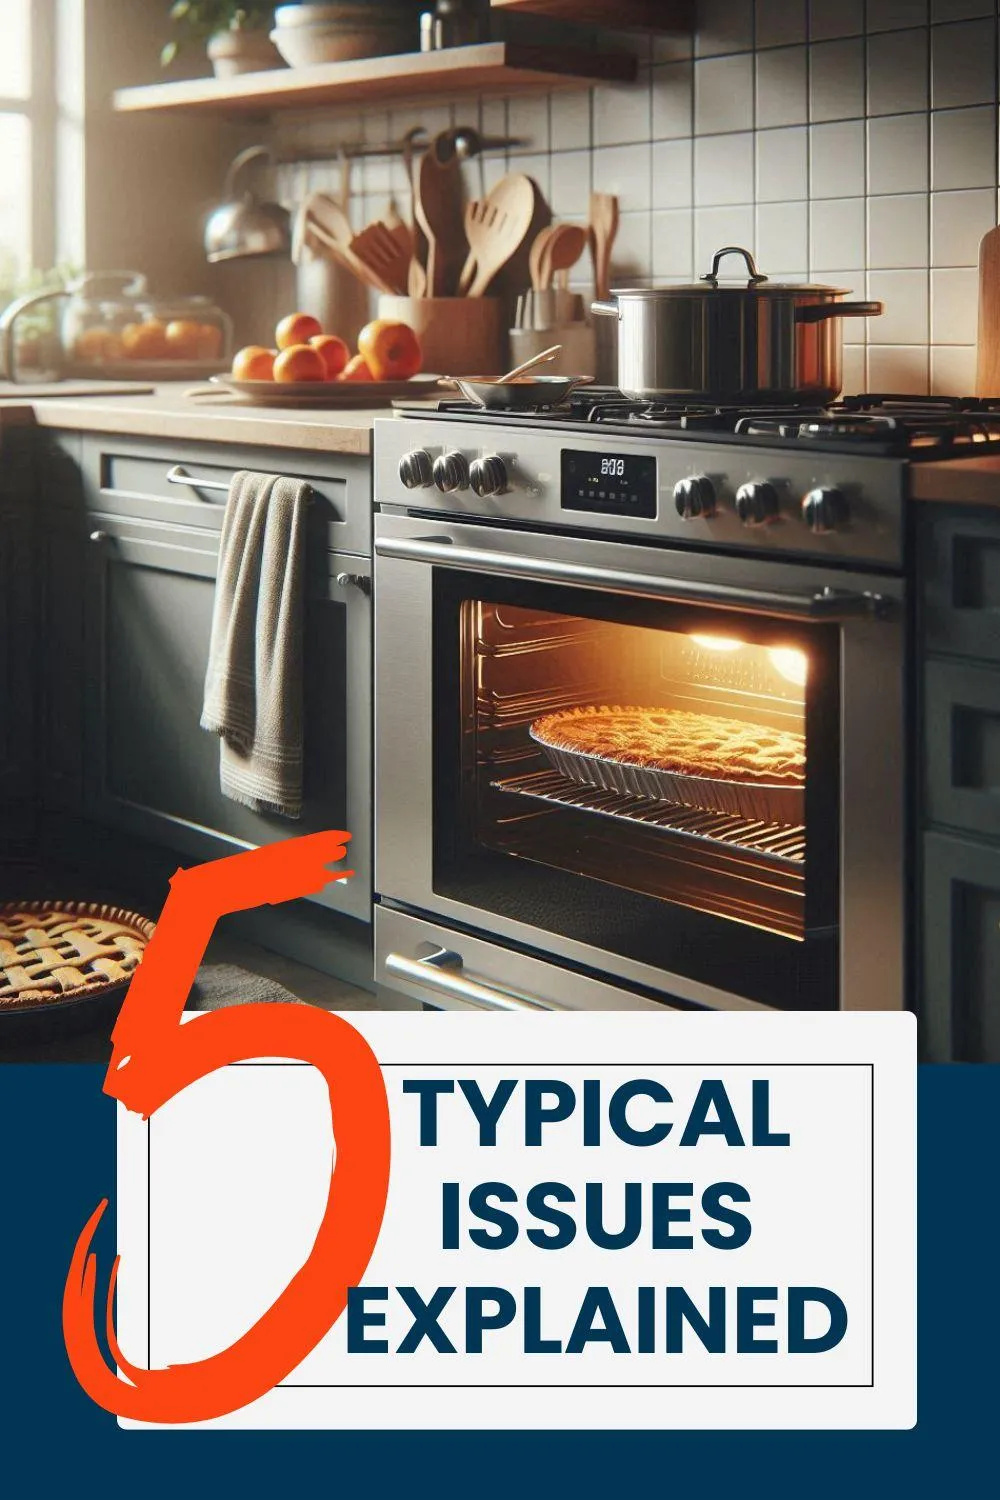
Top 5 Most Common Issues of a KitchenAid Stove and Oven
Discover the top 5 most common issues with your KitchenAid stove and oven and learn how to fix them. From inconsistent heating to control panel problems, get expert tips to keep your appliance running smoothly! - Appliance Boss
Introduction
Overview of Common KitchenAid Stove and Oven Issues
KitchenAid stoves and ovens are renowned for their durability and performance, but like any appliance, they can encounter issues over time. Understanding these common problems can help you troubleshoot effectively and maintain your appliance's efficiency. From uneven heating to control panel glitches, each issue can impact your cooking experience.

Why Understanding These Issues is Essential
Being aware of these common issues helps in early detection and resolution, saving you from more extensive and costly repairs. Knowledge enables you to make informed decisions, either for DIY fixes or when seeking professional help. Addressing issues promptly ensures your KitchenAid stove and oven continue to deliver reliable performance, enhancing your cooking experience.
Issue 1: Inconsistent Heating
Understanding Inconsistent Heating
Inconsistent heating in a KitchenAid stove or oven can result in unevenly cooked meals and inefficient energy use. This problem may manifest as hot spots, cold spots, or fluctuating temperatures, disrupting your cooking process.
Causes of Uneven Heat Distribution
Uneven heat distribution can be caused by faulty heating elements, a malfunctioning thermostat, or obstructed air vents. Additionally, a buildup of grease and food debris can impede proper heat circulation.
Diagnosing Heating Problems
To diagnose inconsistent heating, observe your cooking results for patterns of uneven cooking. Use an oven thermometer to check if the actual temperature deviates from the set temperature. This can help pinpoint thermostat or heating element issues.
Steps to Fix Inconsistent Heating
Clean the Oven: Remove grime and food spills to ensure proper heat circulation.
Check Heating Elements: Inspect the bake and broil elements for signs of damage or wear.
Test the Thermostat: Verify the accuracy of the thermostat and replace it if necessary.
Calibrate the Oven: Adjust the oven’s temperature settings if calibration options are available.
Preventive Measures to Avoid Future Issues
Regular cleaning and maintenance can prevent heating inconsistencies. Ensure air vents are unobstructed and inspect the appliance periodically for worn components. Proper use and care will help maintain even heat distribution.
Issue 2: Ignition Problems
Common Signs of Ignition Issues
Signs of ignition problems include burners that won’t light, intermittent lighting, or unusual clicking sounds without ignition. These issues can disrupt your cooking and may indicate a malfunctioning igniter or other related components.
Possible Causes of Ignition Problems
Ignition problems can stem from a faulty igniter, a blocked gas supply, or dirty burner ports. Issues with the electronic control board or wiring can also prevent the igniter from working correctly.
How to Diagnose Ignition Failures
Examine the igniter to see if it glows when attempting to light the burner. A faint or no glow indicates a potential issue. Also, check for obstructions in the burner ports and ensure that the gas supply is intact.
Repairing or Replacing the Igniter
To repair or replace the igniter, turn off the gas and power supply. Remove the old igniter and install a new one according to the manufacturer’s instructions. Ensure all connections are secure and test the burner to confirm proper operation.
Tips for Preventing Ignition Problems
Regularly clean the burners and igniters to prevent debris buildup. Check gas lines and connections for leaks, and keep the igniter dry. Routine maintenance will help avoid ignition issues.
Issue 3: Oven Not Heating
Recognizing the Signs of an Oven That Won’t Heat
An oven that fails to heat properly can be identified by a lack of cooking activity or a temperature that doesn’t match the set level. If your oven remains cold or fails to reach the desired temperature, it may be experiencing heating issues.
Common Causes of Heating Failures
Heating failures can be due to faulty heating elements, a broken thermostat, or problems with electrical components. Wiring issues or a malfunctioning control board can also prevent the oven from heating correctly.
Testing and Troubleshooting Heating Elements
Test heating elements with a multimeter to check for continuity. If no continuity is detected, the element may need replacement. Inspect the elements for visible signs of damage, such as cracks or burns.
Replacing Faulty Heating Components
To replace faulty heating components, disconnect the appliance from power and remove the damaged part. Install the new component according to the manufacturer’s instructions and test the oven to ensure proper heating.
How to Prevent Future Heating Issues
Avoid overloading the oven and ensure proper ventilation. Regularly check and clean heating elements to prevent buildup that could affect performance. Scheduled maintenance can help identify and address potential problems early.
Issue 4: Burner or Element Malfunctions
Identifying Malfunctioning Burners or Elements
Malfunctioning burners or elements may fail to heat, heat unevenly, or stop working altogether. Common symptoms include inconsistent cooking results or visible damage to the burner or element.
Typical Causes of Burner Failures
Burner failures can result from electrical issues, damaged elements, or problems with burner connections. Food particles or grease buildup can also impact burner performance.
Steps to Diagnose and Repair Burners
Inspect Burners: Look for signs of damage or wear. Clean any debris from burner surfaces.
Test Electrical Connections: Ensure connections are secure and free from corrosion.
Replace Faulty Components: If necessary, replace damaged burners or elements with new ones.
Replacing Burners or Heating Elements
To replace burners or heating elements, first disconnect the appliance from power. Remove the damaged component and install the new one, following manufacturer guidelines. Test the appliance to confirm proper operation.
Maintenance Tips for Burners and Elements
Regularly clean burners and elements to prevent buildup and ensure efficient operation. Check for wear and replace components as needed. Routine maintenance will extend the life of your burners and elements.
Issue 5: Control Panel Problems
Symptoms of Control Panel Malfunctions
Control panel malfunctions are characterized by unresponsive buttons, error codes, or issues with setting temperatures. A faulty control panel can disrupt appliance functionality and affect cooking performance.
Causes of Unresponsive or Faulty Control Panels
Control panel issues can be caused by electronic malfunctions, faulty wiring, or problems with the touchpad or control board. Spills or moisture on the panel can also lead to malfunctions.
Diagnosing and Repairing Control Panel Issues
Check for Visible Damage: Inspect the control panel for signs of wear or damage.
Reset the Appliance: Sometimes, a reset can resolve temporary issues.
Test Connections: Ensure that wiring and connections are secure and free from damage.
Replace the Control Board: If needed, replace the control board according to manufacturer instructions.
When to Replace the Control Board
If control panel issues persist despite troubleshooting, replacing the control board may be necessary. Consult a professional technician to ensure proper installation and functionality.
Routine Maintenance for the Control Panel
Keep the control panel clean and free from spills. Regularly inspect for wear and address issues promptly. Routine maintenance helps prevent malfunctions and ensures reliable performance.
Diagnosing and Troubleshooting Common Issues
General Troubleshooting Techniques
Start by identifying symptoms and narrowing down potential causes. Utilize diagnostic tools and observe the appliance’s behavior to pinpoint issues accurately.
How to Use Diagnostic Tools Effectively
Diagnostic tools, such as multimeters and temperature probes, help identify electrical and temperature issues. Follow manufacturer guidelines for using these tools to ensure accurate diagnostics.
When to Consult the User Manual
Consult the user manual for specific troubleshooting steps and maintenance recommendations. The manual provides valuable information on common issues and their solutions.
Deciding Whether to DIY or Call a Professional
Evaluate the complexity of the issue and your comfort level with repairs. For complicated problems or if unsure, seek professional help to avoid further damage.
Preventive Maintenance Tips
Routine Cleaning and Care for Optimal Performance
Regular cleaning is essential for maintaining appliance efficiency and preventing issues related to buildup. Wipe down surfaces, clean burners and elements, and address spills promptly.
Best Practices for Using Your KitchenAid Stove and Oven
Use appropriate cookware and avoid overloading the appliance. Follow manufacturer guidelines for use and maintenance to ensure optimal performance and longevity.
Regular Inspections to Catch Issues Early
Schedule regular inspections to identify potential problems before they escalate. Early detection and repair help extend the life of your appliance.
Keeping Your Appliance in Top Shape
Perform routine maintenance tasks, such as checking connections and cleaning components. Regular care helps keep your KitchenAid stove and oven in excellent working condition.
Professional Help
When to Seek Professional Assistance
Seek professional help for complex issues, electrical problems, or if repairs exceed your expertise. A qualified technician can provide accurate diagnostics and effective solutions.
Finding a Qualified Technician
Choose certified technicians with experience in repairing KitchenAid appliances. Check reviews and seek recommendations to ensure you select a reliable professional.
Understanding Repair Costs and Options
Obtain estimates for repairs and understand the associated costs. Compare options and consider the long-term benefits of repairs versus replacement.
How to Prepare for a Service Call
Prepare for a service call by documenting issues and symptoms. Ensure clear access to the appliance and have relevant information ready for the technician.
Conclusion
Recap of the Top 5 Issues and Their Solutions
In summary, the top 5 issues with KitchenAid stoves and ovens include inconsistent heating, ignition problems, oven not heating, burner malfunctions, and control panel issues. Understanding and addressing these issues can help maintain optimal performance and extend the appliance’s life.
Importance of Regular Maintenance and Prompt Repairs
Regular maintenance and timely repairs are crucial for keeping your KitchenAid stove and oven in top condition. Proactive care prevents major problems and ensures reliable performance.
Final Tips for Ensuring a Well-Functioning KitchenAid Stove and Oven
Adhere to best practices for maintenance, seek professional assistance when needed, and stay vigilant for early signs of trouble. With the right approach, your KitchenAid stove and oven will continue to provide excellent service for years to come.
For expert assistance with your KitchenAid stove and oven, contact Zip Appliance Repair and Service at (559) 272-4265 or visit our website at fresno.ziprepairservice.com.

Top 5 Most Common Issues of a KitchenAid Stove and Oven
Discover the top 5 most common issues with your KitchenAid stove and oven and learn how to fix them. From inconsistent heating to control panel problems, get expert tips to keep your appliance running smoothly! - Appliance Boss
Introduction
Overview of Common KitchenAid Stove and Oven Issues
KitchenAid stoves and ovens are renowned for their durability and performance, but like any appliance, they can encounter issues over time. Understanding these common problems can help you troubleshoot effectively and maintain your appliance's efficiency. From uneven heating to control panel glitches, each issue can impact your cooking experience.

Why Understanding These Issues is Essential
Being aware of these common issues helps in early detection and resolution, saving you from more extensive and costly repairs. Knowledge enables you to make informed decisions, either for DIY fixes or when seeking professional help. Addressing issues promptly ensures your KitchenAid stove and oven continue to deliver reliable performance, enhancing your cooking experience.
Issue 1: Inconsistent Heating
Understanding Inconsistent Heating
Inconsistent heating in a KitchenAid stove or oven can result in unevenly cooked meals and inefficient energy use. This problem may manifest as hot spots, cold spots, or fluctuating temperatures, disrupting your cooking process.
Causes of Uneven Heat Distribution
Uneven heat distribution can be caused by faulty heating elements, a malfunctioning thermostat, or obstructed air vents. Additionally, a buildup of grease and food debris can impede proper heat circulation.
Diagnosing Heating Problems
To diagnose inconsistent heating, observe your cooking results for patterns of uneven cooking. Use an oven thermometer to check if the actual temperature deviates from the set temperature. This can help pinpoint thermostat or heating element issues.
Steps to Fix Inconsistent Heating
Clean the Oven: Remove grime and food spills to ensure proper heat circulation.
Check Heating Elements: Inspect the bake and broil elements for signs of damage or wear.
Test the Thermostat: Verify the accuracy of the thermostat and replace it if necessary.
Calibrate the Oven: Adjust the oven’s temperature settings if calibration options are available.
Preventive Measures to Avoid Future Issues
Regular cleaning and maintenance can prevent heating inconsistencies. Ensure air vents are unobstructed and inspect the appliance periodically for worn components. Proper use and care will help maintain even heat distribution.
Issue 2: Ignition Problems
Common Signs of Ignition Issues
Signs of ignition problems include burners that won’t light, intermittent lighting, or unusual clicking sounds without ignition. These issues can disrupt your cooking and may indicate a malfunctioning igniter or other related components.
Possible Causes of Ignition Problems
Ignition problems can stem from a faulty igniter, a blocked gas supply, or dirty burner ports. Issues with the electronic control board or wiring can also prevent the igniter from working correctly.
How to Diagnose Ignition Failures
Examine the igniter to see if it glows when attempting to light the burner. A faint or no glow indicates a potential issue. Also, check for obstructions in the burner ports and ensure that the gas supply is intact.
Repairing or Replacing the Igniter
To repair or replace the igniter, turn off the gas and power supply. Remove the old igniter and install a new one according to the manufacturer’s instructions. Ensure all connections are secure and test the burner to confirm proper operation.
Tips for Preventing Ignition Problems
Regularly clean the burners and igniters to prevent debris buildup. Check gas lines and connections for leaks, and keep the igniter dry. Routine maintenance will help avoid ignition issues.
Issue 3: Oven Not Heating
Recognizing the Signs of an Oven That Won’t Heat
An oven that fails to heat properly can be identified by a lack of cooking activity or a temperature that doesn’t match the set level. If your oven remains cold or fails to reach the desired temperature, it may be experiencing heating issues.
Common Causes of Heating Failures
Heating failures can be due to faulty heating elements, a broken thermostat, or problems with electrical components. Wiring issues or a malfunctioning control board can also prevent the oven from heating correctly.
Testing and Troubleshooting Heating Elements
Test heating elements with a multimeter to check for continuity. If no continuity is detected, the element may need replacement. Inspect the elements for visible signs of damage, such as cracks or burns.
Replacing Faulty Heating Components
To replace faulty heating components, disconnect the appliance from power and remove the damaged part. Install the new component according to the manufacturer’s instructions and test the oven to ensure proper heating.
How to Prevent Future Heating Issues
Avoid overloading the oven and ensure proper ventilation. Regularly check and clean heating elements to prevent buildup that could affect performance. Scheduled maintenance can help identify and address potential problems early.
Issue 4: Burner or Element Malfunctions
Identifying Malfunctioning Burners or Elements
Malfunctioning burners or elements may fail to heat, heat unevenly, or stop working altogether. Common symptoms include inconsistent cooking results or visible damage to the burner or element.
Typical Causes of Burner Failures
Burner failures can result from electrical issues, damaged elements, or problems with burner connections. Food particles or grease buildup can also impact burner performance.
Steps to Diagnose and Repair Burners
Inspect Burners: Look for signs of damage or wear. Clean any debris from burner surfaces.
Test Electrical Connections: Ensure connections are secure and free from corrosion.
Replace Faulty Components: If necessary, replace damaged burners or elements with new ones.
Replacing Burners or Heating Elements
To replace burners or heating elements, first disconnect the appliance from power. Remove the damaged component and install the new one, following manufacturer guidelines. Test the appliance to confirm proper operation.
Maintenance Tips for Burners and Elements
Regularly clean burners and elements to prevent buildup and ensure efficient operation. Check for wear and replace components as needed. Routine maintenance will extend the life of your burners and elements.
Issue 5: Control Panel Problems
Symptoms of Control Panel Malfunctions
Control panel malfunctions are characterized by unresponsive buttons, error codes, or issues with setting temperatures. A faulty control panel can disrupt appliance functionality and affect cooking performance.
Causes of Unresponsive or Faulty Control Panels
Control panel issues can be caused by electronic malfunctions, faulty wiring, or problems with the touchpad or control board. Spills or moisture on the panel can also lead to malfunctions.
Diagnosing and Repairing Control Panel Issues
Check for Visible Damage: Inspect the control panel for signs of wear or damage.
Reset the Appliance: Sometimes, a reset can resolve temporary issues.
Test Connections: Ensure that wiring and connections are secure and free from damage.
Replace the Control Board: If needed, replace the control board according to manufacturer instructions.
When to Replace the Control Board
If control panel issues persist despite troubleshooting, replacing the control board may be necessary. Consult a professional technician to ensure proper installation and functionality.
Routine Maintenance for the Control Panel
Keep the control panel clean and free from spills. Regularly inspect for wear and address issues promptly. Routine maintenance helps prevent malfunctions and ensures reliable performance.
Diagnosing and Troubleshooting Common Issues
General Troubleshooting Techniques
Start by identifying symptoms and narrowing down potential causes. Utilize diagnostic tools and observe the appliance’s behavior to pinpoint issues accurately.
How to Use Diagnostic Tools Effectively
Diagnostic tools, such as multimeters and temperature probes, help identify electrical and temperature issues. Follow manufacturer guidelines for using these tools to ensure accurate diagnostics.
When to Consult the User Manual
Consult the user manual for specific troubleshooting steps and maintenance recommendations. The manual provides valuable information on common issues and their solutions.
Deciding Whether to DIY or Call a Professional
Evaluate the complexity of the issue and your comfort level with repairs. For complicated problems or if unsure, seek professional help to avoid further damage.
Preventive Maintenance Tips
Routine Cleaning and Care for Optimal Performance
Regular cleaning is essential for maintaining appliance efficiency and preventing issues related to buildup. Wipe down surfaces, clean burners and elements, and address spills promptly.
Best Practices for Using Your KitchenAid Stove and Oven
Use appropriate cookware and avoid overloading the appliance. Follow manufacturer guidelines for use and maintenance to ensure optimal performance and longevity.
Regular Inspections to Catch Issues Early
Schedule regular inspections to identify potential problems before they escalate. Early detection and repair help extend the life of your appliance.
Keeping Your Appliance in Top Shape
Perform routine maintenance tasks, such as checking connections and cleaning components. Regular care helps keep your KitchenAid stove and oven in excellent working condition.
Professional Help
When to Seek Professional Assistance
Seek professional help for complex issues, electrical problems, or if repairs exceed your expertise. A qualified technician can provide accurate diagnostics and effective solutions.
Finding a Qualified Technician
Choose certified technicians with experience in repairing KitchenAid appliances. Check reviews and seek recommendations to ensure you select a reliable professional.
Understanding Repair Costs and Options
Obtain estimates for repairs and understand the associated costs. Compare options and consider the long-term benefits of repairs versus replacement.
How to Prepare for a Service Call
Prepare for a service call by documenting issues and symptoms. Ensure clear access to the appliance and have relevant information ready for the technician.
Conclusion
Recap of the Top 5 Issues and Their Solutions
In summary, the top 5 issues with KitchenAid stoves and ovens include inconsistent heating, ignition problems, oven not heating, burner malfunctions, and control panel issues. Understanding and addressing these issues can help maintain optimal performance and extend the appliance’s life.
Importance of Regular Maintenance and Prompt Repairs
Regular maintenance and timely repairs are crucial for keeping your KitchenAid stove and oven in top condition. Proactive care prevents major problems and ensures reliable performance.
Final Tips for Ensuring a Well-Functioning KitchenAid Stove and Oven
Adhere to best practices for maintenance, seek professional assistance when needed, and stay vigilant for early signs of trouble. With the right approach, your KitchenAid stove and oven will continue to provide excellent service for years to come.
For expert assistance with your KitchenAid stove and oven, contact Zip Appliance Repair and Service at (559) 272-4265 or visit our website at fresno.ziprepairservice.com.
If your dryer has been giving you problems, contact Zip Appliance Repair & Service at (559) 272-4265

Appliance Repair In A Zip
If you need a dryer repair call our Team at (559) 272-4265, or visit our online scheduling page to request service.
Appliance Repair
HAVE A QUESTION, CALL (559) 272-4265

Online Offers
Take advantage of our online discount offers - save time and money...

Residential & Commercial appliances
See what our company can do for you

Appliance Repair Tips
If your appliance is not working properly...

1405 Commercial Way ste 100
Bakersfield, CA 93309
Lic # 1116346
Equipment We Sevice
- A Call To Confirm Your Appointment Time
- A Email Detailing Your Assigned Technician
- Information Needed Before The Repair Can Be Started
- An Estimate Of Work To Be Done
© 2026 ZIP APPLIANCE REPAIR & SERVICE LLC


