THE FASTEST TOOLS IN TOWN
ZIP APPLIANCE REPAIR & SERVICE

Phone: (559) 272-4265


Phone: (559) 272-4265


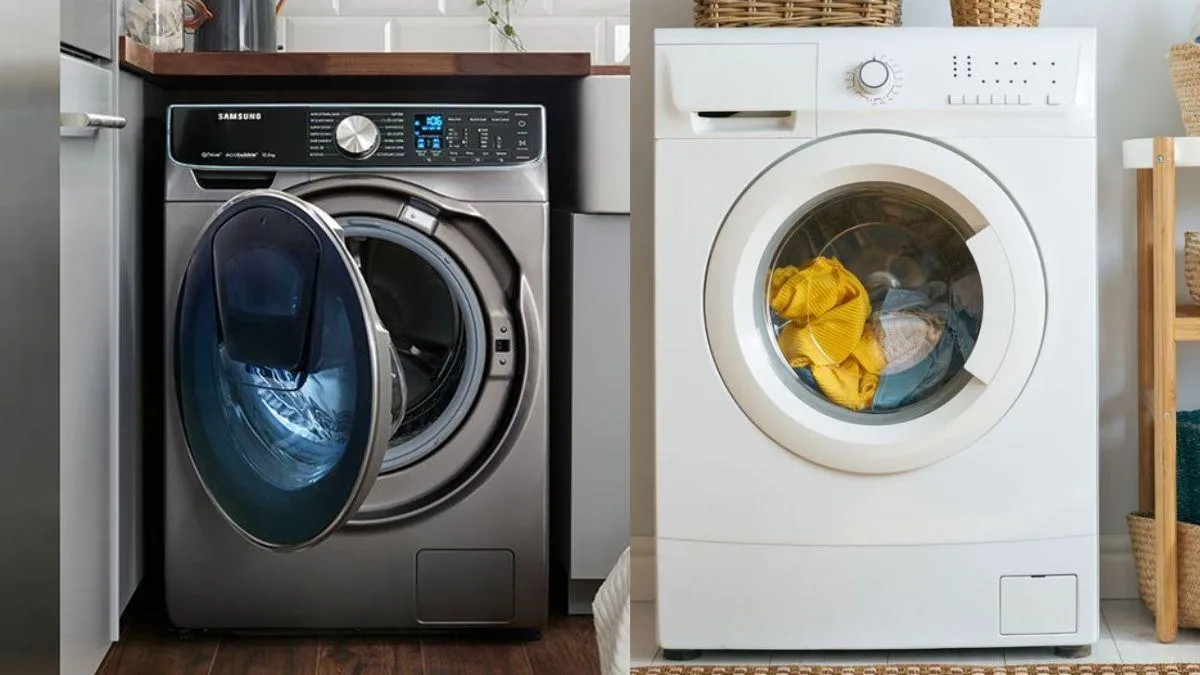
Washer Repair in Clovis, CA - ZIP Appliance Repair
Expert Washer Repair Services - Quick, Reliable, and Local

Welcome to ZIP Appliance Repair, your leading provider of washer repair services in Clovis, CA. We understand the importance of having a fully functional washing machine in your home—whether you're dealing with mountains of family laundry or the weekly wash. Our expert technicians are equipped to handle a wide range of washer issues, ensuring that your appliance runs smoothly with minimal downtime. Trust us to provide efficient, reliable washer repair services tailored to meet your needs.
If your washer has been giving you problems, contact Zip Appliance Repair & Service at (559) 272-4265
Why Choose Us?
At ZIP Appliance Repair, we are committed to providing exceptional washer repair services to the Clovis community. Our team of certified technicians is skilled in handling a variety of brands, including market leaders like Samsung and LG. We pride ourselves on our rapid response times, ensuring that your washer issues are resolved quickly and effectively, minimizing any inconvenience to your daily routine. Our steadfast commitment to customer satisfaction and our ability to deliver reliable, high-quality repairs make us your best choice for washer maintenance and repair services in Clovis, CA.
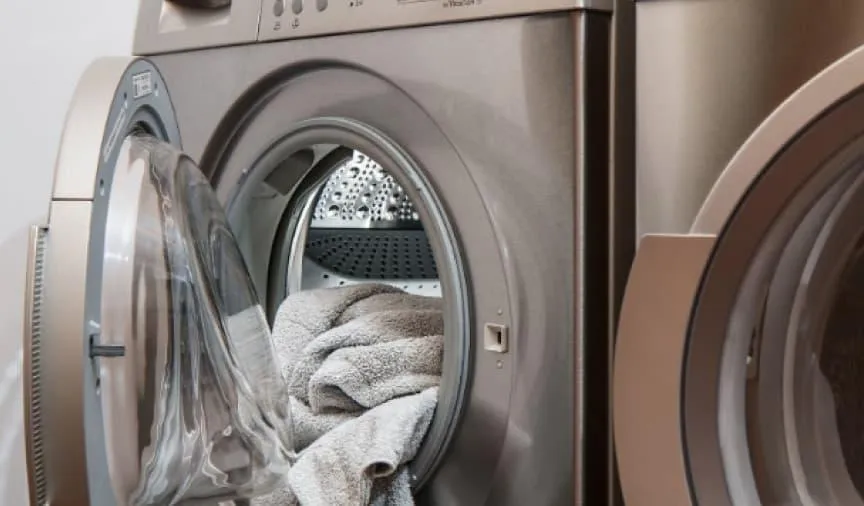
Common Washer Problems We Fix
At ZIP Appliance Repair, we address a range of common washer issues that can disrupt your daily life. Here are some of the frequent problems we encounter and resolve:
Leaking Water: Whether it's a faulty hose or a seal issue, we quickly identify and fix leaks to prevent water damage and restore your washer's functionality.
Excessive Noise: Loud noises often indicate worn-out bearings or unbalanced drums. Our technicians can effectively quiet your machine.
Failure to Start: We troubleshoot power issues, faulty timers, or broken switches to get your washer running again.
Inadequate Draining: Slow or non-draining washers can be a hassle. We clean clogged filters and repair drain pumps efficiently.
Unusual Odors: We clean and maintain washer interiors to eliminate mold, mildew, and other causes of unpleasant smells.
Trust our skilled team to extend the life of your appliance with professional, thorough repairs.
Our Repair Services In Clovis, CA
At ZIP Appliance Repair, we provide comprehensive washer repair services designed to address every possible malfunction. Our process begins with a thorough diagnostic to accurately identify the problem. We then explain the issue and our proposed solution to you, ensuring transparency and understanding. Our repairs include replacing worn or faulty components with high-quality parts, adjusting settings for optimal performance, and conducting final tests to guarantee your washer operates as expected. Whether it’s a simple fix or a complex repair, our goal is to ensure your washing machine's longevity and efficiency.
Zip Appliance Repair & Service in Clovis, CA is the Best Team For the Job
Our expertise in washer repair extends to a wide range of brands, ensuring that no matter the make or model of your washing machine, ZIP Appliance Repair has you covered. We specialize in servicing popular brands such as Samsung and LG, known for their innovative and complex technologies. Additionally, we are skilled in repairing washers from Maytag, renowned for their high-end appliances. Our technicians stay updated with the latest repair techniques and technology, guaranteeing effective solutions for all your washer repair needs in Clovis, CA.
Repairing a refrigerator in your Clovis, CA home is a great idea. Don't just replace the refrigerator without knowing if it can be fixed. Call Zip Appliance Repair & Service today at (559) 272-4265 about a refrigerator repair.
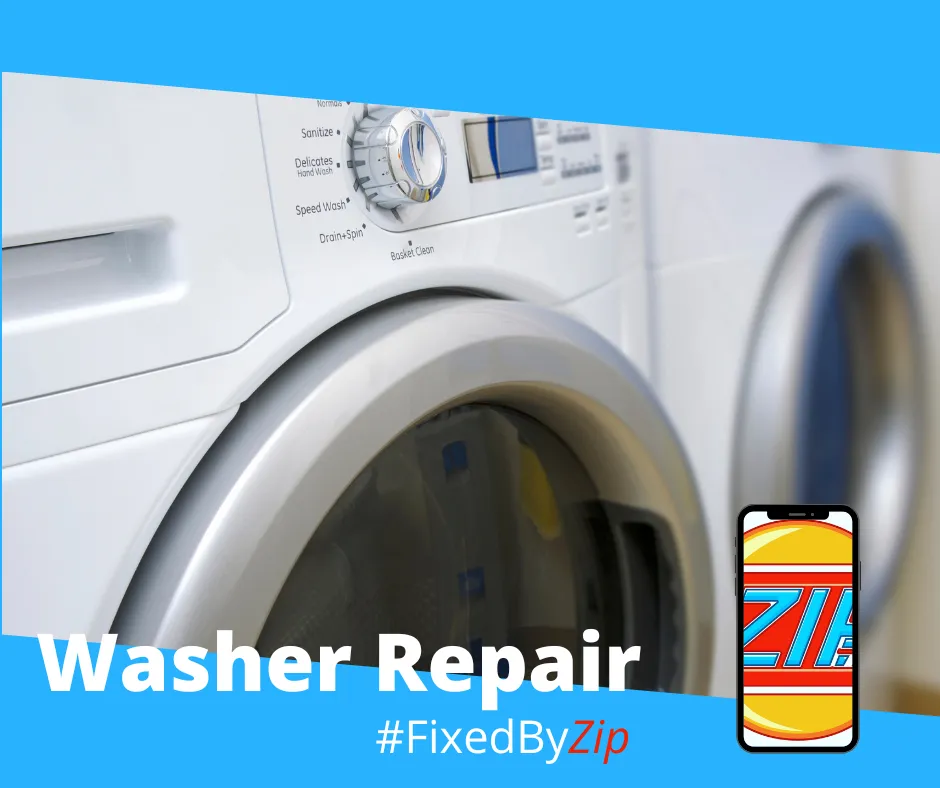
Washer Repair In A Zip
If you need a washer repair call our Team at (559) 272-4265, or visit our online scheduling page to request service.
Appliance Repair
HAVE A QUESTION, CALL (559) 272-4265
We Repair & Service Most Major Brands Including:
LG, Viking, Sub-Zero, Samsung, General Electric, Whirlpool, Maytag, Kenmore, Frigidaire, Electrolux


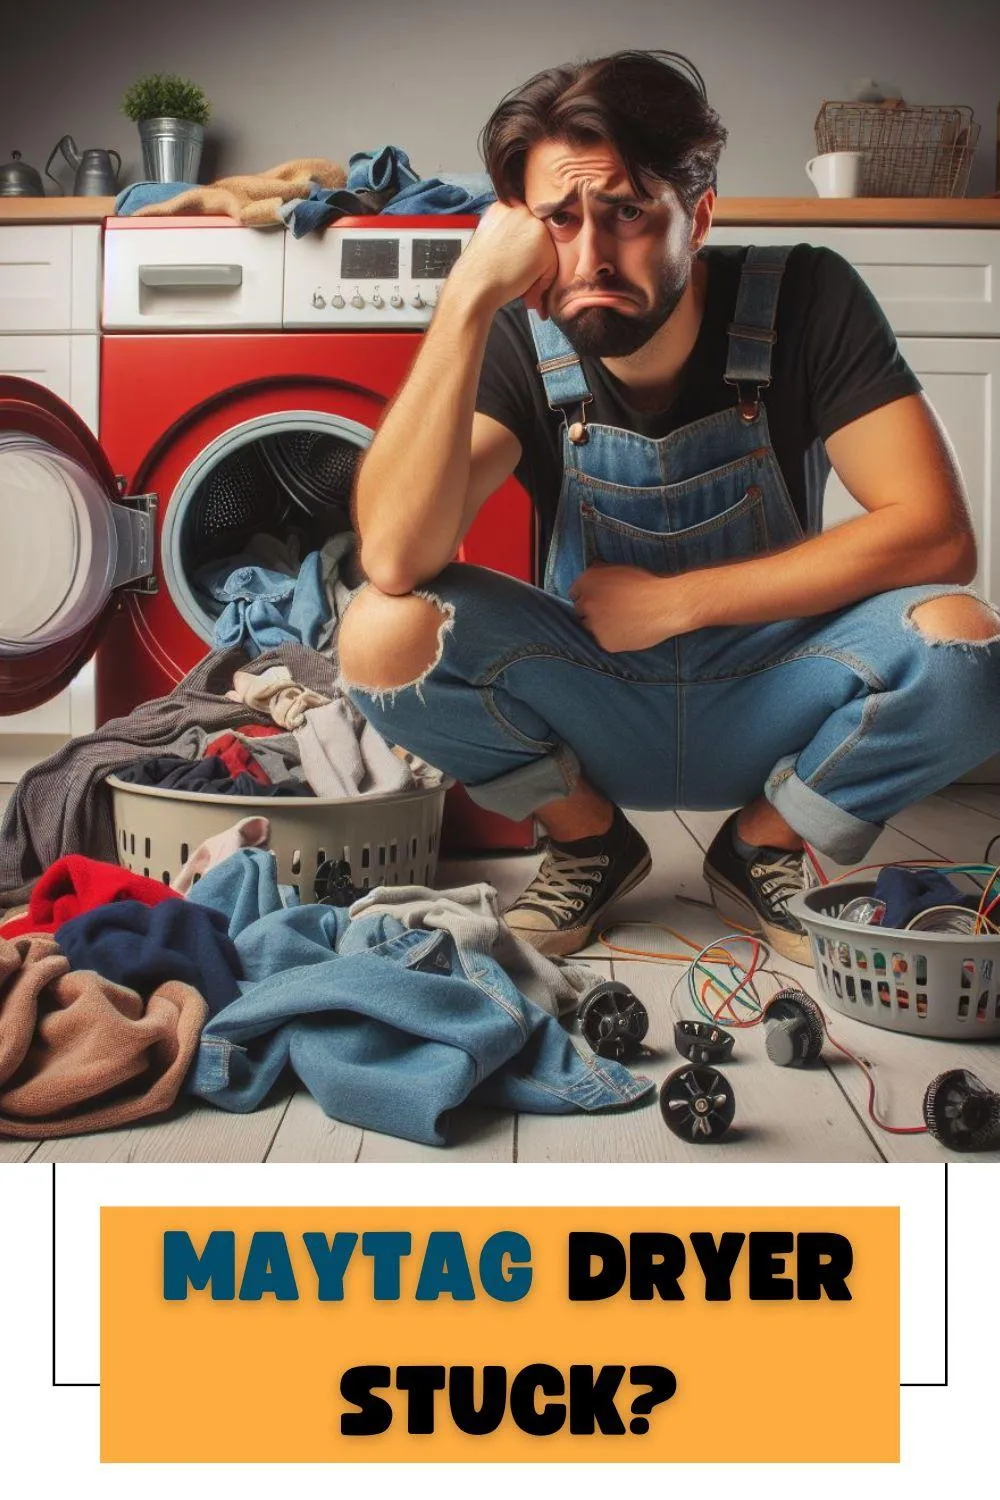
Troubleshooting Maytag Dryer Tumble Woes
“Troubleshooting Maytag Dryer Tumble Woes isn't just about fixing machines; it's about restoring peace to laundry day.” - Appliance Boss
Introduction:
Welcome to the world of Maytag Dryer troubleshooting, where we embark on a journey to unravel the mysteries behind a malfunctioning appliance. In this comprehensive guide, we'll navigate through the intricate web of components that make up your Maytag Dryer, focusing particularly on the crucial aspect of tumbling. Understanding the significance of a smoothly tumbling dryer goes beyond mere convenience; it directly impacts the efficiency and effectiveness of your laundry routine.

Common Issues
Identifying the symptoms of a Maytag Dryer not tumbling is akin to deciphering cryptic messages from your appliance. One of the most glaring signs is the lack of movement during the cycle, leaving your clothes trapped in a state of limbo. Imagine the frustration of pressing the start button, only to be met with eerie silence as the drum refuses to rotate. Additionally, be on the lookout for unusual noises or vibrations emanating from the depths of your dryer. These ominous sounds often serve as warning signs of underlying issues, beckoning for your attention. Furthermore, if your garments emerge from the dryer damp or wrinkled, it's a clear indication that the tumbling action isn't up to par, leaving you with a laundry dilemma to solve.
Exploring potential causes behind these issues is akin to embarking on a detective mission, where each clue brings us closer to unraveling the mystery. One common culprit is a malfunctioning belt or pulley system, disrupting the delicate dance of the dryer drum. Picture a worn-out belt struggling to maintain its grip, or a misaligned pulley throwing the entire mechanism into disarray. Motor problems also lurk in the shadows, ready to wreak havoc on your laundry routine. Whether it's a burnt-out motor or faulty wiring, the result is the same: a dryer that refuses to cooperate. Furthermore, the wear and tear on drum rollers or bearings can't be ignored, as these seemingly insignificant components play a pivotal role in ensuring smooth rotation.
Preparation
Before diving headfirst into the realm of troubleshooting, it's imperative to arm yourself with the necessary tools and materials. A trusty screwdriver set will be your loyal companion, aiding in the disassembly and reassembly of your dryer. Additionally, a multimeter becomes your beacon of hope, guiding you through the maze of electrical diagnostics with precision and accuracy. Depending on the diagnosis, replacement parts may be required to breathe new life into your ailing appliance.
Ensuring safety precautions are in place is non-negotiable when dealing with electrical appliances. Begin by disconnecting the dryer from its power source, severing the lifeline that fuels its operations. This simple yet essential step prevents the risk of electrocution and ensures your safety throughout the troubleshooting process. Furthermore, donning protective gear, such as gloves and safety goggles, shields you from potential hazards, allowing you to tackle the task at hand with confidence.
Diagnostic Steps
Step 1: Checking the belt and pulley system is the first order of business in our quest for dryer enlightenment. Begin by peeling back the layers of your dryer, gaining access to the inner workings concealed within. With a keen eye for detail, inspect the belt and pulleys for signs of wear, tears, or misalignment. Run your fingers along the surface, feeling for any irregularities that may hinder the smooth rotation of the drum.
Step 2: Testing the motor functionality requires a delicate balance of technical prowess and intuition. Armed with your trusty multimeter, embark on a journey into the heart of the dryer, where the motor resides. With steady hands and unwavering focus, probe the electrical connections, measuring continuity with each precise touch. Simultaneously, cast your gaze upon the motor, scouring its surface for any telltale signs of damage or distress.
Step 3: Examining drum rollers and bearings delves into the nitty-gritty details of dryer maintenance, requiring a willingness to get your hands dirty. Prepare to dismantle the dryer, stripping away the layers of insulation that guard the coveted components within. With a flashlight in hand, peer into the depths of the drum, searching for signs of wear, debris buildup, or lack of lubrication. Each roller and bearing tells a story of its own, revealing the trials and tribulations of a dryer's tumultuous journey.
Repair Techniques
If the belt is the culprit behind your dryer woes, fear not, for a solution is within reach. Begin by bidding farewell to the old, worn-out belt, gently coaxing it from its resting place within the confines of the dryer. With nimble fingers and a steady hand, guide the new belt into position, ensuring a snug fit that promises uninterrupted rotation. Adjusting the tension is the final step in this delicate dance, fine-tuning the equilibrium between grip and glide for optimal performance.
For motor problems that threaten to derail your laundry aspirations, swift action is imperative. Dive into the depths of the dryer, armed with the knowledge that lies within. Whether it's a faulty component or a tangled web of wiring, approach the task with determination and resolve. With precision and finesse, repair or replace the offending elements, breathing new life into the dormant motor. As the sparks of electricity dance to the rhythm of your efforts, witness the rebirth of a once-silent sentinel.
Addressing drum roller and bearing problems requires a gentle touch and a discerning eye. With the finesse of a surgeon, lubricate the components to alleviate friction and restore harmony to the dryer's inner workings. Whether it's a simple application of grease or the installation of new bearings, each gesture brings us one step closer to dryer nirvana. Bid farewell to the worn and weary, embracing the promise of a brighter future with each turn of the drum.
Testing and Validation
With repairs complete, it's time to reassemble the dryer, ushering in a new era of functionality and efficiency. Piece by piece, reconnect the intricate network of wires and components, ensuring each connection is secure and snug. Double-check fastenings and fittings, leaving no stone unturned in your quest for perfection. As the final screw is tightened and the last panel replaced, bask in the satisfaction of a job well done.
Conducting a test run is the moment of truth, the culmination of your efforts and expertise. With bated breath, press the start button, initiating the cycle that will determine the fate of your repairs. Listen intently as the dryer springs to life, the hum of its motor a symphony of triumph. Observe with keen eyes as the drum begins its graceful dance, tumbling with newfound vigor and purpose. With each rotation, feel the weight of uncertainty lift from your shoulders, replaced by a sense of accomplishment and pride.
Preventive Maintenance Tips
As the dust settles on your dryer troubleshooting adventure, it's important to reflect on the lessons learned and the steps taken to prevent future mishaps. Implementing regular cleaning and maintenance routines is the cornerstone of dryer longevity. Clear lint traps and vents regularly, removing the debris that threatens to choke the airflow and stifle the dryer's performance. Take the time to inspect and clean drum rollers and bearings, safeguarding against the wear and tear that accompanies neglect.
Checking for signs of wear or damage periodically is the key to staying one step ahead of potential problems. Perform visual inspections of the dryer's components, scouring every nook and cranny for hints of trouble. Listen for the faintest whispers of distress during operation, attuned to the subtle changes that may signal impending doom. By remaining vigilant and proactive, you can ensure your dryer continues to serve you faithfully for years to come.
Conclusion
In conclusion, troubleshooting Maytag Dryer tumble woes is a journey fraught with challenges and triumphs. From identifying common issues to implementing repair techniques and preventive maintenance measures, each step brings us closer to dryer enlightenment. By understanding the significance of a smoothly tumbling dryer and embracing the intricacies of its inner workings, we gain the confidence and expertise to tackle any obstacle that comes our way.
At Zip Appliance Repair & Service, we're here to support you every step of the way on your dryer troubleshooting journey. If you find yourself in need of additional assistance or guidance, don't hesitate to reach out to us at (559) 272-4265. Our team of experts is standing by, ready to lend a helping hand and ensure your Maytag Dryer operates smoothly once more. So, fear not the rumblings and rattlings of your dryer, for with knowledge and determination, you hold the power to conquer any tumble woe that dares to cross your path.


© 2026 ZIP APPLIANCE REPAIR & SERVICE LLC